Narrowcasting Part01
I have made a narrowcasting-system based on LAMP (Linux/Apache/PHP/MySQL) on the small and mighty Raspberry Pi. accessible via a browser. In this post I will write what I've done to get a minimal desktop with a browser running showing the messages. To get the Pi working as a narrowcasting system, some adjustments are necessary. I have tried to adjust the machine for the user (pi) as much as possible and leave the system itself alone. At this point, there is just one system-file that has to be adjusted (point 2). Please keep in mind that there are a lot of possible ways to achieve what I've done below. The following items will be addressed:
- Get the system up and running
- autologin
- the desktop
1. Get the system up and running
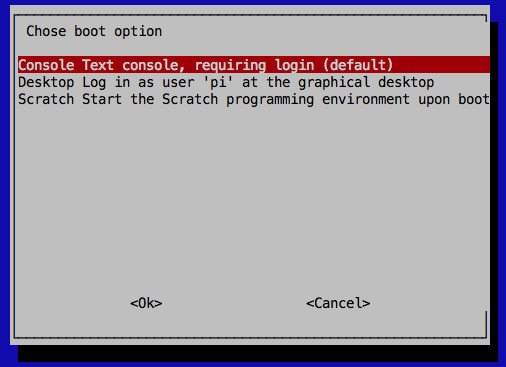
First of all, buy a Pi! In the Netherlands there are plenty of suppliers nowadays. After receiving your Pi, it's time to download an operating system. Since I am most familiar with Debian, I chose Raspbian. There are excellent guides on the downloadpage on how to install to an SD-card, I have nothing to add to those. On first boot, you get a few choices. You should read about them elsewhere, I only mention two here: At 1, I expanded to use my entire SD-card. Attention: There is no "Are you sure?", it will expand and tell you to reboot. [caption id="attachment_272" align="alignnone" width="300"]Raspberry Pi: extend filesystem[/caption] At 3, I chose to boot to Console and entered Ok. This is getting complete control over the boot options. [caption id="attachment_274" align="alignnone" width="300"]
raspi-config: Boot[/caption]
2. Autologin
If everything went okay, you should be able to log on to your machine now. Now it's time to get some autologin going. This is were the power of GNU/Linux comes to light. Adjusting the system to ones wishes is as easy as editing a few text files!Edit /etc/inittab
This file sets up login options for the users.$ sudo nano /etc/inittabI commented out the original login-option and set up an autologin#1:2345:respawn:/sbin/getty --noclear 38400 tty1 1:2345:respawn:/bin/login -f pi </dev/tty1 >/dev/tty1 2>&1 2:23:respawn:/sbin/getty 38400 tty2I commented out the others, because I am probably the only one who will log in.#3:23:respawn:/sbin/getty 38400 tty3 #4:23:respawn:/sbin/getty 38400 tty4 #5:23:respawn:/sbin/getty 38400 tty5 #6:23:respawn:/sbin/getty 38400 tty6Once that's done, save your file: ctrl + o to save and ctrl + x to exit Now reboot to see if it works$ sudo reboot3. the desktop
Install packages
I have chosen to use Midori and matchbox-window-manager because they are lightweight. Firefox is not an option in my opinion, because the Pi doesn't have much memory. I also installed unclutter, which hides the mouse cursor from the display.Set up .bash_profile
You set it up so that X starts locally on logon and if you log on via SSH, there will be no problem.if [ "$SSH_CONNECTION" != "" ]; then echo Logging in with ssh return else startx fi # rest of your profile goes hereSet up .xsession
This is the file where all the programs that have to run are started. Please note: - all programs except the window manager should end in & - the window manager should be on the last line.# from package: x11-xserver-utils, sets some video settings xset s off xset dpms 0 0 0 # hide mouse cursor exec unclutter -idle 2 & # start terminal for local debugging, comment out in prod #exec xterm & # start browser exec midori -e Fullscreen & # start window manager exec matchbox-window-manager -use_titlebar noNow reboot and see if it works! If you are now able to see the midori startpage, you have succeeded in creating an autologin on the Raspberry Pi.Next Time
Part 2 will describe how to set up LAMP on Raspbian, how to configure a schema for the data needed in our narrowcasting system and where to put the files to show the narrowcasting in the browser.